| Interior |
|
 |
I'm going to cover everything you should need to know to fix any problem you might have on your trailer. The interior of this trailer was actually the best part of this trailer. It had little to no water damage mainly because it was built without a roof vent.
|
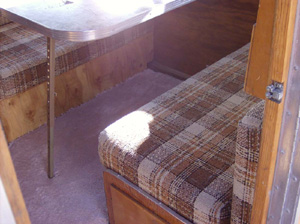 |
One problem it had was the last owner had removed one of the bench seats for the dinette. So I had to rebuild it. |
 |
I made it out of 1/2" plywood and 1 x 2's. It's actually very simple contsruction and the only tools need were a tape measure, a cordless drill and a skill saw.
 |
 |
You're going to start by matching the height of the opposing bench, cut a board for the front and using the 1x2's install a frame on the front wall, cabinet and floor. YOU WANT TO MAKE SURE THE SCREWS DON'T GO THROUGH THE OUT SIDE. A 1" grabber worked great on this trailer. After it was screwed in it extended into the plywood wall about 3/8 of an inch. Then screw the front to your frame. Using the same procedure, build a frame for the top. Then cut a piece of plywood for your top. After the bench was assembled, I installed a table and cushions I had from another trailer. |
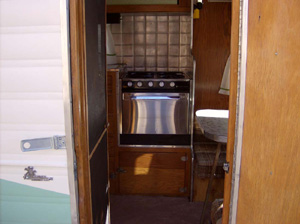 |
The stove had been removed so I installed a chrome one that I got out of another trailer. The stoves just screw into the cabinet on each side under the stove top which you can lift up to access. Screw in the original gas line and you're done. Teflon tape is not required on copper gas lines as the copper is soft enough that it will form a snug fit. |
 |
The trailer already had mattresses so I went to the thrift store and bought bedding to make it look comfortable.
I repainted the front of the ice box to make it look new. |
 |
|
 |
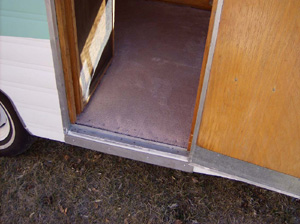
The screen on the door was ripped, so I replaced it with a new fabric and sanded and refinished the wood. This was probably the only place on the interior that needed refinishing. A clean entry makes for a nice trailer.
Replacing the screen is simple on these trailers. It's stapled to the frame and then a wood strip is tacked on to cover the staples. So to replace:
First remove the wood trim by carefully prying it up with a screw driver or similar tool.
Second, remove the staples and the screen
Third, put the new screen on and staple it down.
Fourth: Reattach the wood trim. The wood trim is available at Hardware stores and it's called "Screen Molding". |
 |
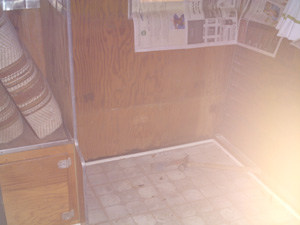
I carpeted over the original linoleum as it was worn. |
|
|
|
|
|
|
